
This guide groups warning signs by location, roof system and urgency. It helps you check the problem without stepping onto the roof, then choose between monitoring, a repair inspection, a fuller survey or immediate safety action.
Spot the pattern, then choose the right route
- Keep people away from falling material, unsafe ceilings, roof edges and any surface that has not been confirmed safe.
- Note when the sign appears, where it changes and what the weather was doing instead of naming a cause too early.
- Look at drainage, junctions and internal signs together; the visible stain may not sit below the entry point.
- Use repeated defects, widespread movement or uncertain build-up condition as reasons for a broader survey, not automatic proof of replacement.
Start with people and the space below
Before inspecting the roof, check whether the internal area is safe to occupy. Keep people away from bulging finishes, falling debris and water near electrical fittings, and use the emergency services where there is immediate danger to life.
Active water entry
Move possessions only where this can be done without entering an unsafe area. Use a container if it can be placed safely, avoid disturbing the ceiling and note whether the flow changes with wind or rainfall.
Movement or falling material
A sagging ceiling, sudden cracking, falling roof material or visible structural movement needs a safety-led response. Do not stand below the affected area or climb for a closer look.
Read internal signs without over-diagnosing
Internal signs help show timing and spread, but cannot confirm the external entry point by themselves. Draw a simple plan or mark photographs so later observations can be compared.
Stains and damp
Note the stain edge, colour change, room, ceiling or wall position and whether it grows after wind-driven rain or prolonged wet weather. A mark that dries between events still deserves investigation if it returns.
Surface and air changes
Peeling finishes, softened boards, musty odours and local damp may indicate moisture, but condensation and plumbing also need to remain possible until further checks separate them. Note occupancy and ventilation changes instead of assuming every mark is a roof leak.
Use safe external observations
Observe from ground level, a normal window or another established safe position. HSE guidance says roof work must be planned and carried out by competent people, and roofs should be treated as fragile until confirmed otherwise.
Drainage and standing water
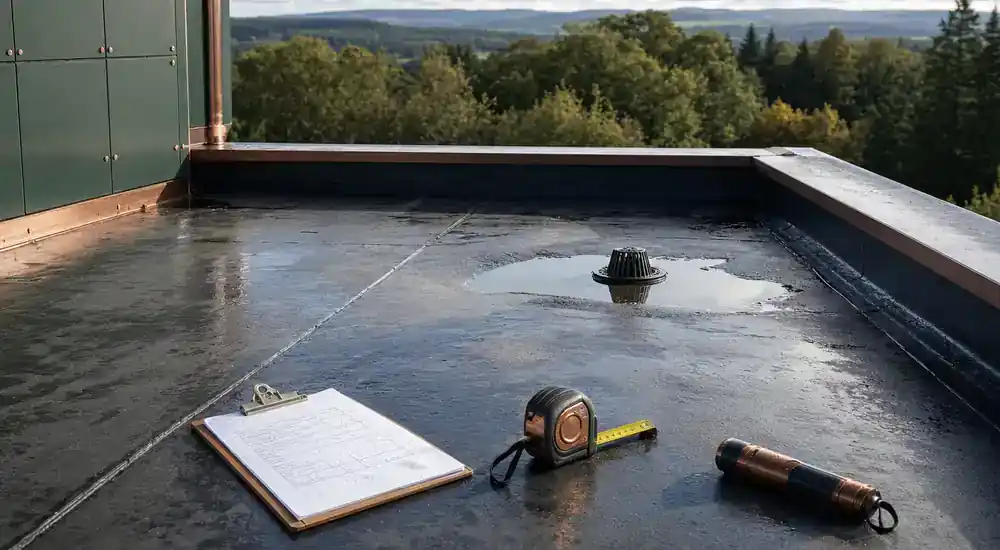
Note blocked-looking outlets, debris, overflow marks and water that remains after rainfall. A photograph taken from the same safe viewpoint at different times can show whether drainage is changing without requiring roof access.
Edges, upstands and penetrations
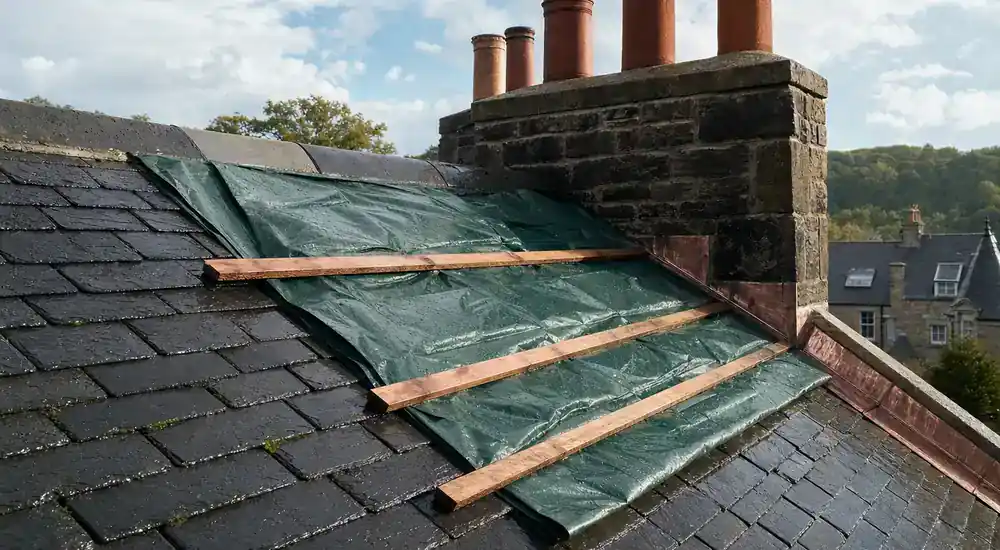
Look for lifted edges, open trims, displaced flashings, failed-looking seals or changes around rooflights, pipes and wall abutments. These observations identify areas for inspection; they do not prove the route water has taken below the surface.
Recognise patterns by covering type
Different flat roof systems show distress in different ways, but appearance alone may not identify the product or cause. Where the system is unknown, say so and avoid applying a repair material based only on a photograph.
Felt and bituminous coverings
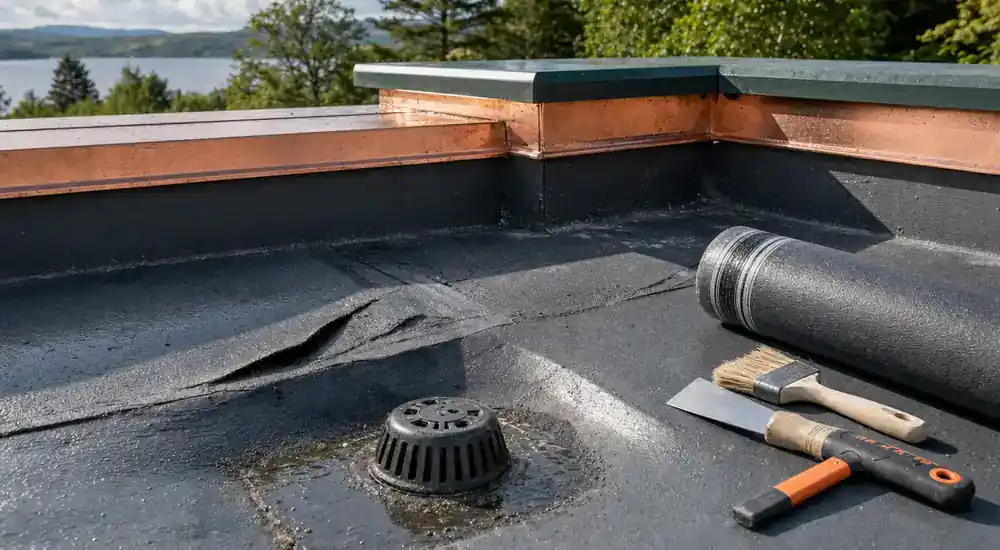
Look for splits, open laps, blisters, surface wear and changes at edges or outlets. A blister is not automatically the leak source, and cutting or coating it without understanding the build-up can widen the defect.
EPDM and single ply
Look for puncture, seam change, shrinkage at perimeters, lifted details and movement around outlets or penetrations. A compatible repair depends on identifying the system and preparing the surface correctly.
GRP and rigid finishes
Look for cracks, crazing, local impact damage and movement at trims or junctions. The inspection should distinguish a surface mark from movement in the substrate or detail below.
Choose an urgency level
Urgency should follow risk and change, not a promised attendance time. Reassess if the weather changes, water spreads or materials move.
Immediate safety route
Use this route for danger to people, active falling material, unsafe ceilings, major uncontrolled water near electrical fittings or suspected structural instability. Keep clear and contact the appropriate emergency service where there is immediate danger.
Priority inspection route
Use a repair inspection for recurring water entry, a visible puncture or open detail, new storm damage, blocked drainage or a defect that is actively changing. Share the observations without presenting them as a confirmed diagnosis.
Planned survey route
Use a broader survey for repeated repairs, several defect areas, uncertain system identity, possible deck or insulation moisture, or a replacement decision. The goal is to define condition and priorities before choosing work.
A simple timeline helps reveal the pattern
A short chronology is more useful than a large set of unlabelled photographs. Keep original dates and revisit the same viewpoints so changes can be compared. In a tenement or rented home, tell the factor or landlord promptly when the affected roof may be shared.
- First date noticed and whether the sign is spreading.
- Weather at the time: wind direction if known, short shower or prolonged rain.
- Internal location, nearby walls, services and roof features.
- Safe wide photographs plus closer views from the same position.
- Known previous repairs, coatings or drainage work.
- Property access, occupied areas and any shared-management contact.
Official guidance and references
- HSE: working at height safely Official guidance on planning, competence, equipment and the hierarchy for controlling work-at-height risk.
- HSE: roof work Official roof-work guidance covering safe access, roof edges, weather and fragile materials.
- HSE: fragile surfaces Official guidance on treating roof surfaces as fragile until a competent person confirms otherwise.
- Historic Environment Scotland: traditional building repairs Official guidance on finding causes, specifying compatible repairs, retaining fabric and recording work.
- Historic Environment Scotland: traditional building maintenance Official advice on inspection plans, connected defects, maintenance records and safe observation of traditional buildings.