Start with how the roof and room will be used
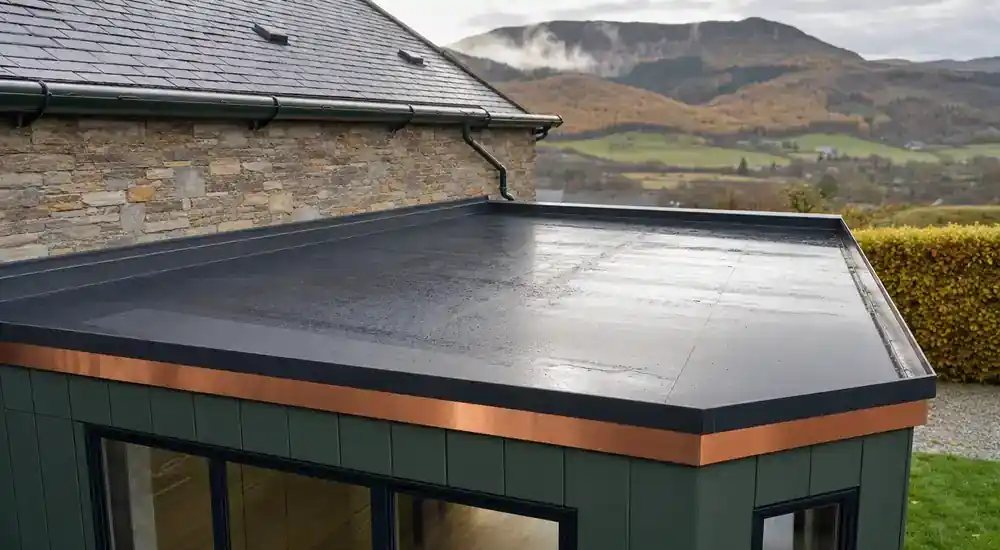
An extension, dormer, garage and plant roof can need very different construction even when the roof areas are similar. The first questions concern structure, internal use, rooflights, walls, doors, outlets and whether anyone needs maintenance access. A waterproof roof is not automatically suitable as a terrace or balcony; any occupied use needs its own structural, safety and surface design.
The complete roof sits below the visible finish
A new flat roof normally combines supporting structure, deck, vapour control where required, insulation and waterproofing. The order and compatibility of these layers affect condensation, heat loss, movement and the finished height. Responsibility for structural, thermal, fire and drainage design should be clear before work reaches the roof, particularly where several designers or trades meet.
Falls, outlets and overflows need early attention
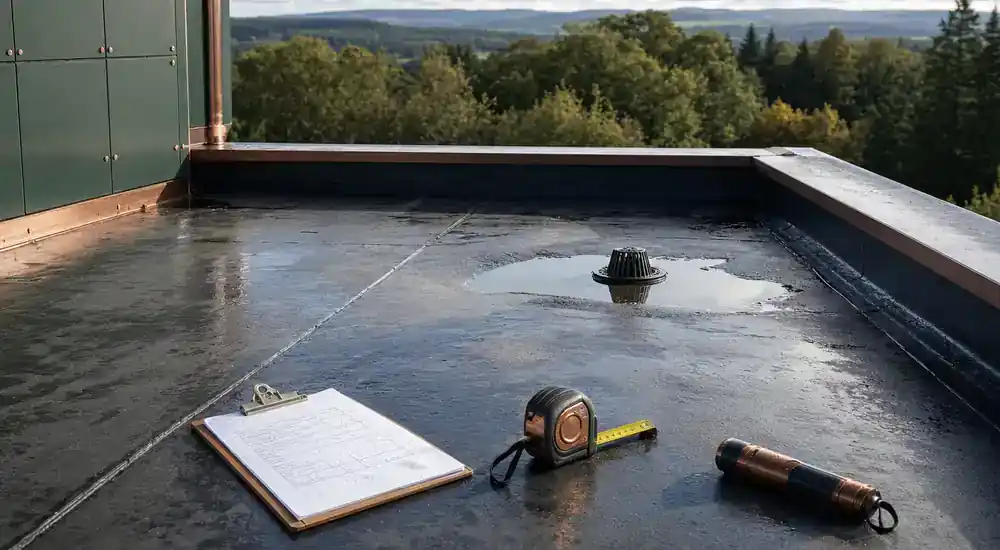
Rain needs a deliberate route off the roof. Roof shape, low points, outlet positions, gutters and any required overflow arrangement should work around rooflights, parapets and changes of level. Poorly placed outlets or restricted falls can leave standing water even beneath a new covering. Outlet pieces must also suit the selected waterproofing and remain accessible for cleaning.
Junctions often decide whether a design is workable
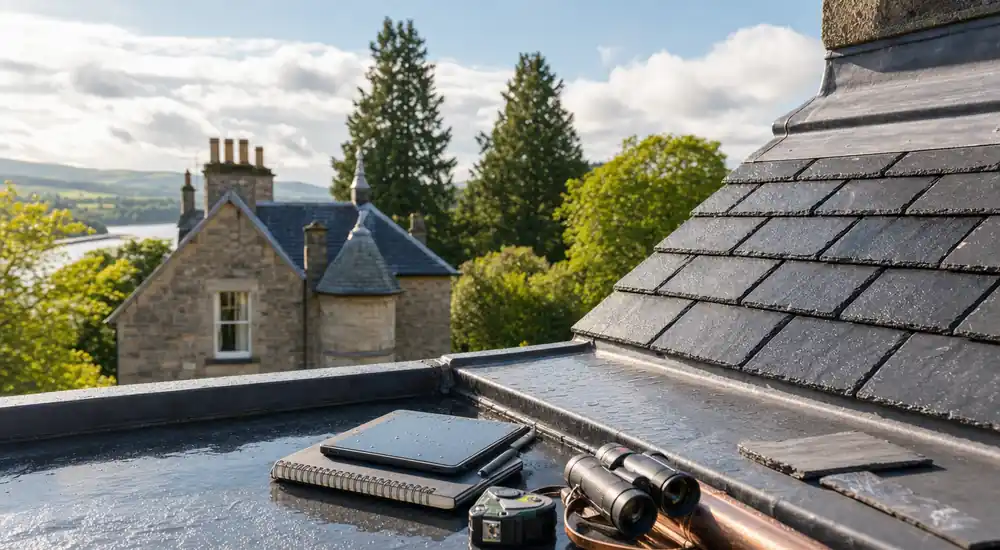
Wall abutments, rooflight kerbs, pipes, edge trims, parapets and door thresholds interrupt the main roof surface. Insulation and falls consume height at these points, so late decisions can leave too little space for a reliable upstand. Each junction should show how water is turned away and which trade creates the surface that receives the waterproofing.
Choosing the waterproofing approach
GRP, felt, EPDM and single ply behave differently around movement, corners, long runs and penetrations. They also use different decks, jointing methods and accessories. Weather during installation, roof access and later maintenance can affect practicality. The choice should follow the building and complete build-up rather than a product name selected before the roof details are known.
Completion information that helps later
Useful handover information can show the final roof build-up, product references, outlet positions, concealed-stage photographs, approved changes and care restrictions. Keeping this with the property papers makes later maintenance and repairs easier because the covering and layers do not need to be guessed. For an early discussion, drawings, intended use and project stage are more useful than a preferred brand.
Decide what to check next for flat roof installation
Before choosing flat roof installation, note the visible defect, when it appears, nearby junctions and any safe indoor signs. If the cause remains unclear, request a roof inspection that distinguishes a local repair from a wider issue; do not climb onto the roof to investigate.